
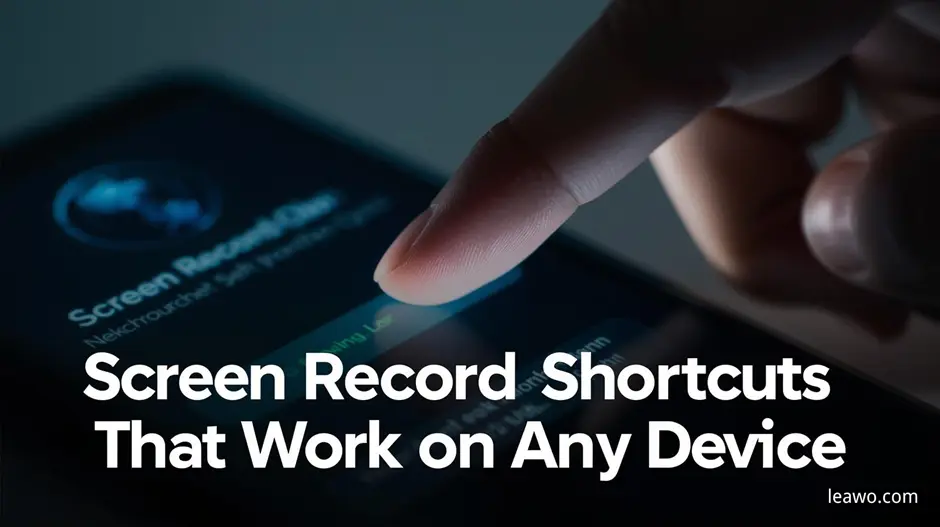
Screen recording has become an essential part of modern digital life. From creating tutorials and recording online meetings to capturing gameplay and saving important moments, screen recording helps us communicate and document more effectively. What makes it even more convenient is the use of keyboard shortcuts. A simple screen record shortcut can instantly start or stop recording without navigating through menus or apps, saving time and keeping your workflow smooth.
In this guide, we’ll explore screen record shortcuts that work across all major devices—Windows, macOS, Android, and iOS/iPadOS. You’ll learn how to use built-in tools, set up shortcuts, and understand when it might be better to use third-party solutions like Leawo Free Screen Recorder.
Part 1: Windows Screen Record Shortcut
Windows offers a built-in screen recording tool through the Xbox Game Bar. While originally designed for gamers, it works well for general screen recording tasks too. The Xbox Game Bar is available on Windows 10 and Windows 11. It allows you to record apps, browser windows, and even system audio.
How to Enable the Built-in Screen Recorder
- Open Settings
- Go to Gaming
- Select Xbox Game Bar
- Make sure it’s turned on
Once enabled, you can access it anytime using a keyboard shortcut.
Windows Screen Record Shortcut
The most commonly used windows screen record shortcut is:
- Win + Alt + R – Start or stop screen recording
- Win + Alt + G – Record the last 30 seconds (if background recording is enabled)
- Win + Alt + M – Turn microphone on or off during recording
Screenshot Shortcut on Windows
- Win + Alt + PrtScn – Take a screenshot using Xbox Game Bar
- Win + PrtScn – Take a full-screen screenshot and save it automatically
The Xbox Game Bar is ideal for basic screen recording needs, but it does have limitations. For example, it cannot record File Explorer or the desktop itself.
Part 2: Screen Record Shortcut on macOS
macOS offers one of the most user-friendly built-in screen recording systems, powered by the Screenshot Toolbar. Apple’s Screenshot Toolbar allows users to record the entire screen or a selected portion, with or without audio.
Screen Record Shortcut Mac
The universal screen record shortcut mac users rely on is:
- Command + Shift + 5
This shortcut opens the Screenshot Toolbar, where you can choose:
- Record the entire screen
- Record a selected portion
- Take screenshots
To start recording, simply select a recording option and click Record.
Screenshot Shortcuts on macOS
- Command + Shift + 3 – Capture the entire screen
- Command + Shift + 4 – Capture a selected area
- Command + Shift + 4 + Space – Capture a specific window
macOS screen recordings are smooth, high-quality, and perfect for tutorials, presentations, and walkthroughs.
Part 3: Shortcuts to Screen Record on Android
Most modern Android devices come with a built-in screen recording feature. While shortcuts may vary slightly by manufacturer, the core functionality is similar. Android screen recording is usually found in the Quick Settings or Control Panel.
How to Set Up Screen Recording in Quick Settings
- Swipe down from the top of the screen to open Quick Settings
- Swipe again to expand all options
- Look for Screen Recorder
- If you don’t see it, tap Edit and add it to your Quick Setting.
Shortcut to Record Screen on Android
Unlike desktop systems, Android doesn’t use keyboard shortcuts. Instead, the fastest shortcut to record screen is:
- Swipe down → Tap Screen Recorder
Screenshot Shortcut on Android
- Power button + Volume Down – Take a screenshot
Some devices also support gesture-based shortcuts, such as three-finger swipes.
Android’s built-in recorder is excellent for capturing apps, demos, and short tutorials, though advanced editing features are usually limited.
Part 4: Shortcuts to Screen Record on iOS & iPad
Apple’s iOS and iPadOS include a built-in screen recorder that is easy to set up and use. The screen recording feature is accessed through the Control Center.
How to Set Up Screen Recording in Control Center
- Go to Settings
- Tap Control Center
- Find Screen Recording
- Tap the + icon to add it
Once added, it’s always accessible with a swipe.
Shortcut to Record Screen on iPhone & iPad
- Swipe down (Face ID devices) or swipe up (Home button devices)
- Tap the Screen Record button
After a 3-second countdown, recording begins.
Screenshot Shortcut on iOS & iPad
- Side button + Volume Up – For Face ID devices
- Home button + Side button – For older devices
iOS screen recording is reliable for app demos, tutorials, and social media content.
Part 5: Final Words
Built-in screen recording tools on Windows, macOS, Android, and iOS are more than enough for everyday needs. They’re free, easy to access, and optimized for each platform. A quick screen record shortcut can help you capture content instantly without interrupting your workflow.
However, if you need advanced features like scheduled recording, webcam overlays, custom frame rates, annotation tools, or recording system-level activity, third-party tools are worth exploring. Software like Leawo Free Screen Recorder offers more control and flexibility, especially for users looking for powerful yet free screen recorders for PC.
The right tool depends on your goals—basic recording or professional content creation.
FAQs
1. Where are my screen recordings saved?
- Windows (Xbox Game Bar): Videos → Captures
- macOS: Desktop by default (can be changed)
- Android: Gallery or Photos app
- iOS & iPad: Photos app
You can usually change the save location in settings for desktop systems.
2. Can I customize my screen record shortcuts?
- Windows: Limited customization through system settings or third-party tools
- macOS: Fully customizable via System Settings → Keyboard → Shortcuts
- Android & iOS: Not customizable by default, though some devices support automation apps
Third-party screen recorders typically allow full shortcut customization.
3. Is there a time limit for screen recording?
Built-in tools generally don’t impose strict time limits, but long recordings may be affected by storage, system performance, battery life (on mobile devices) and other factors. Third-party tools like Leawo Free Screen Recorder often provide better stability for long sessions.
With the right shortcuts and tools, screen recording becomes effortless on any device. Whether you’re using built-in options or advanced solutions like Leawo Free Screen Recorder, mastering these shortcuts will make your screen recording faster, smoother, and more efficient.
Also Read-Why is Student Interest in Tech High?
